DIY // Natural Beeswax Candles
/
I am such a candle person. I love the flicker of the flame and the soft scent that wafts through our apartment. But when I started hearing about all of the toxins in regular candles, I knew I wanted to replace our toxic candles with handmade candles using essential oils for custom fragrances.
The Problem With Regular Candles
The majority of regular scented candles are made of paraffin wax, which releases the same toxins as those found in diesel fuel fumes. They're known to put off chemicals that are considered just as dangerous as second-hand smoke. And when their fragrance is made with artificial scents, the chemicals they emit are even greater. But the wax isn't the only problem. Studies have shown that the wicks in roughly 30% of candles contain heavy metals even though candle wicks in the US are supposed to be made of cotton or paper.
Why Beeswax Candles?

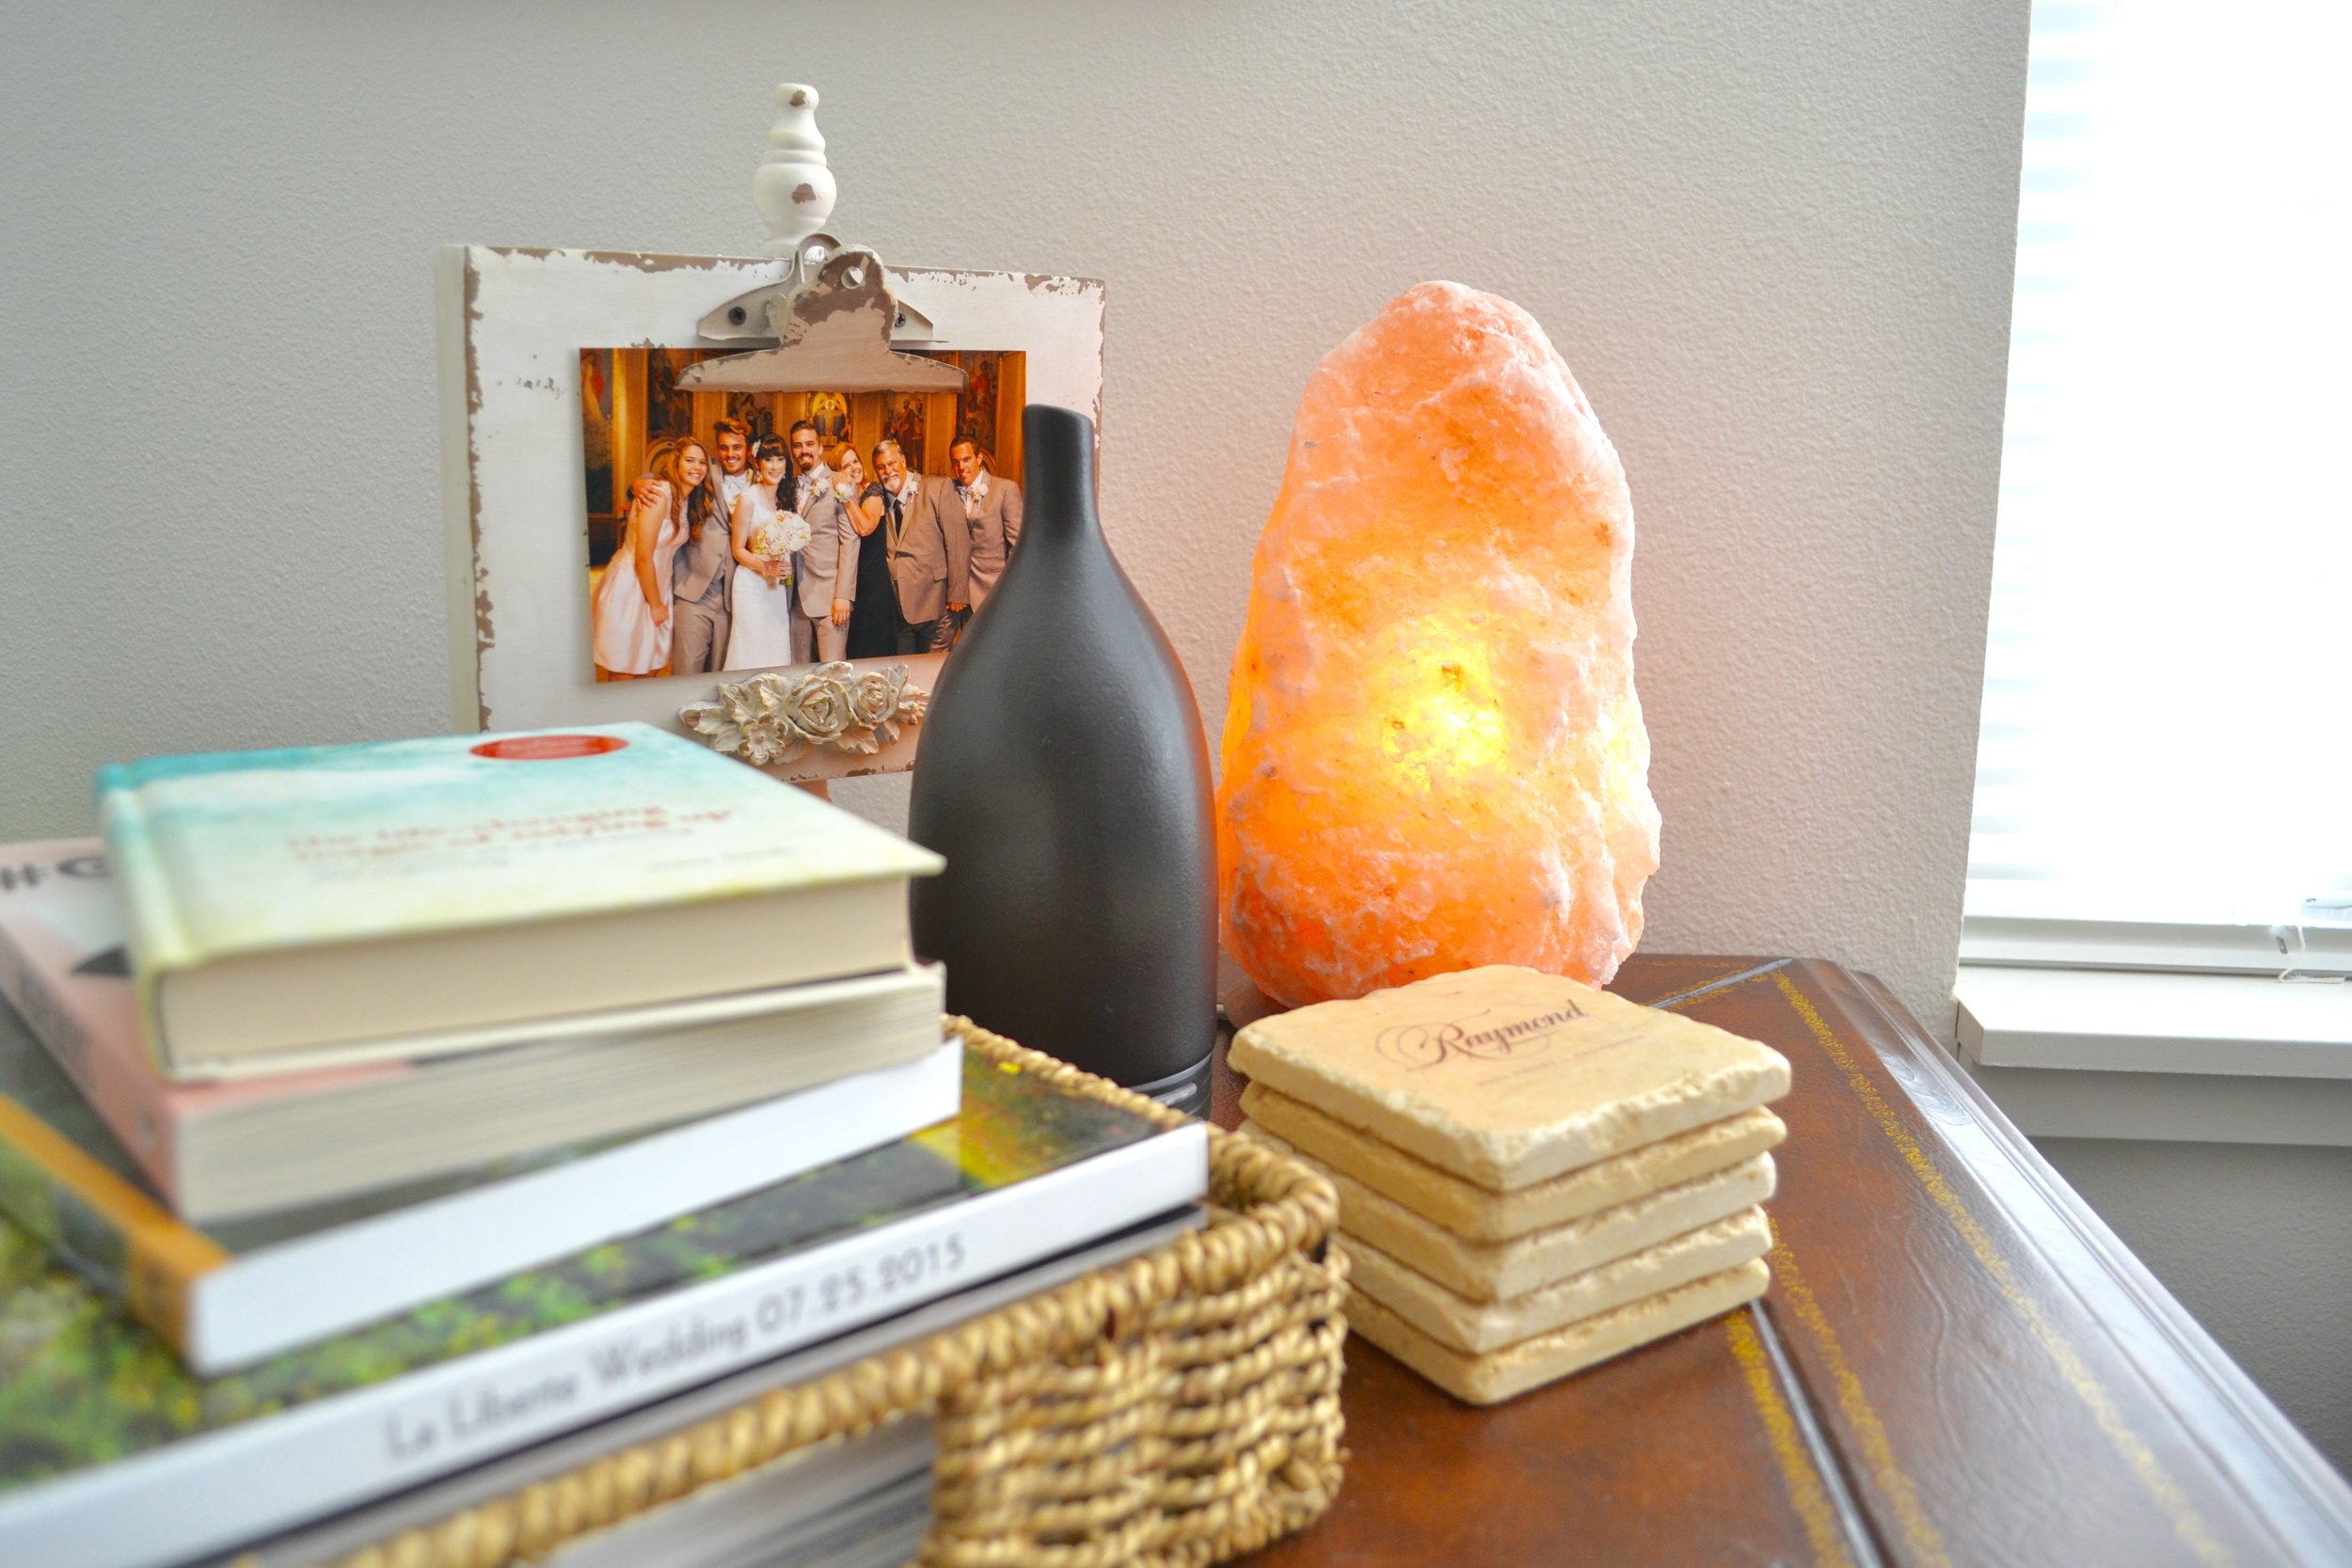
Beeswax candles don't have any of the chemicals that come in paraffin candles and they actively work to improve indoor air quality. How? Similarly to Himalayan salt lamps, beeswax candles emit negative ions that bind with toxins to remove them from the air. Because of this and their ability to remove dander and dust from the environment, beeswax candles are great for those with asthma and allergies. Why not use soy candles? Unfortunately, soy has a bad reputation of being genetically modified. We'd rather know exactly what's going into our homemade beeswax candles than dedicate time to making soy candles that may or may not contain toxins.
Make Your Own Beeswax Candles

Ready to make your own beeswax candles? It's fun! But I'm not going to lie, the first time we made them was interesting. The melting part was easy (of course), but attaching the wick and pouring without a pour spout was sort of a hot mess for us. But that's why I'm writing this so you can learn from our mistakes ;).
Supplies you'll need:
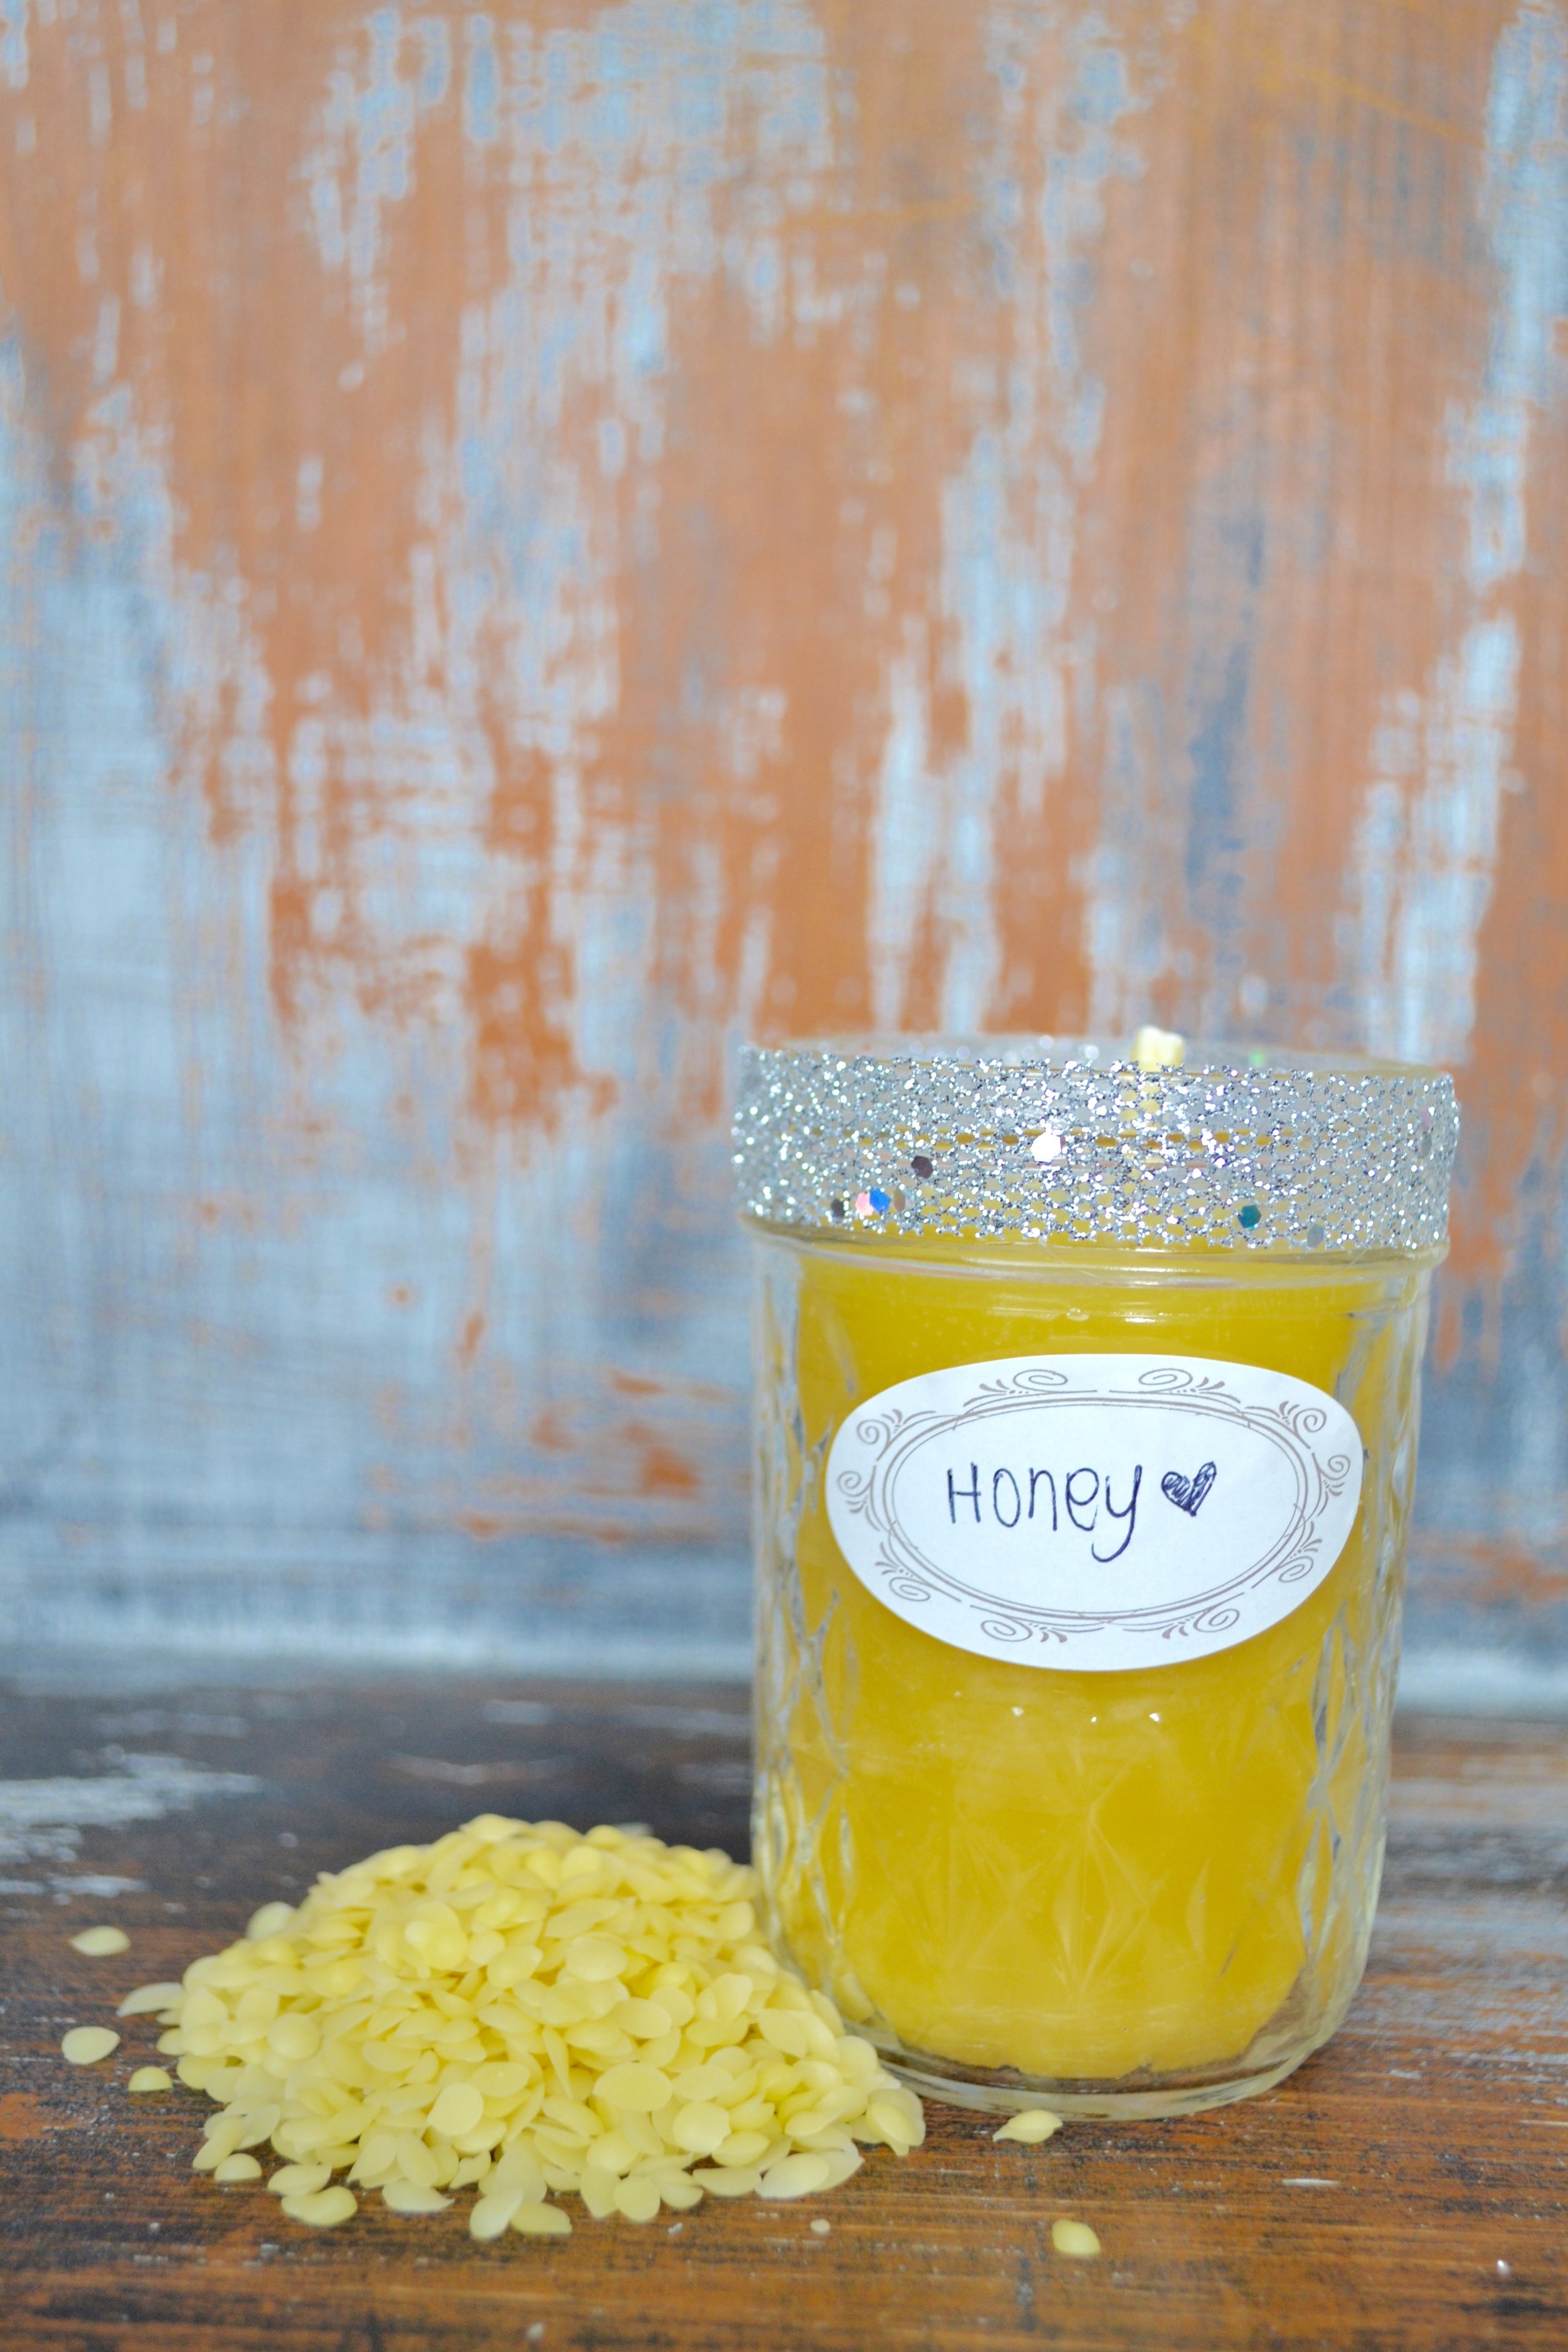
- 100% pure yellow beeswax - I was gifted a 2lb bag, but only used half of it to make these 3 candles
- Square Braid Cotton Candle Wick - #6 - because beeswax candles are slow burning, they require thicker wicks, making this one of the most important considerations
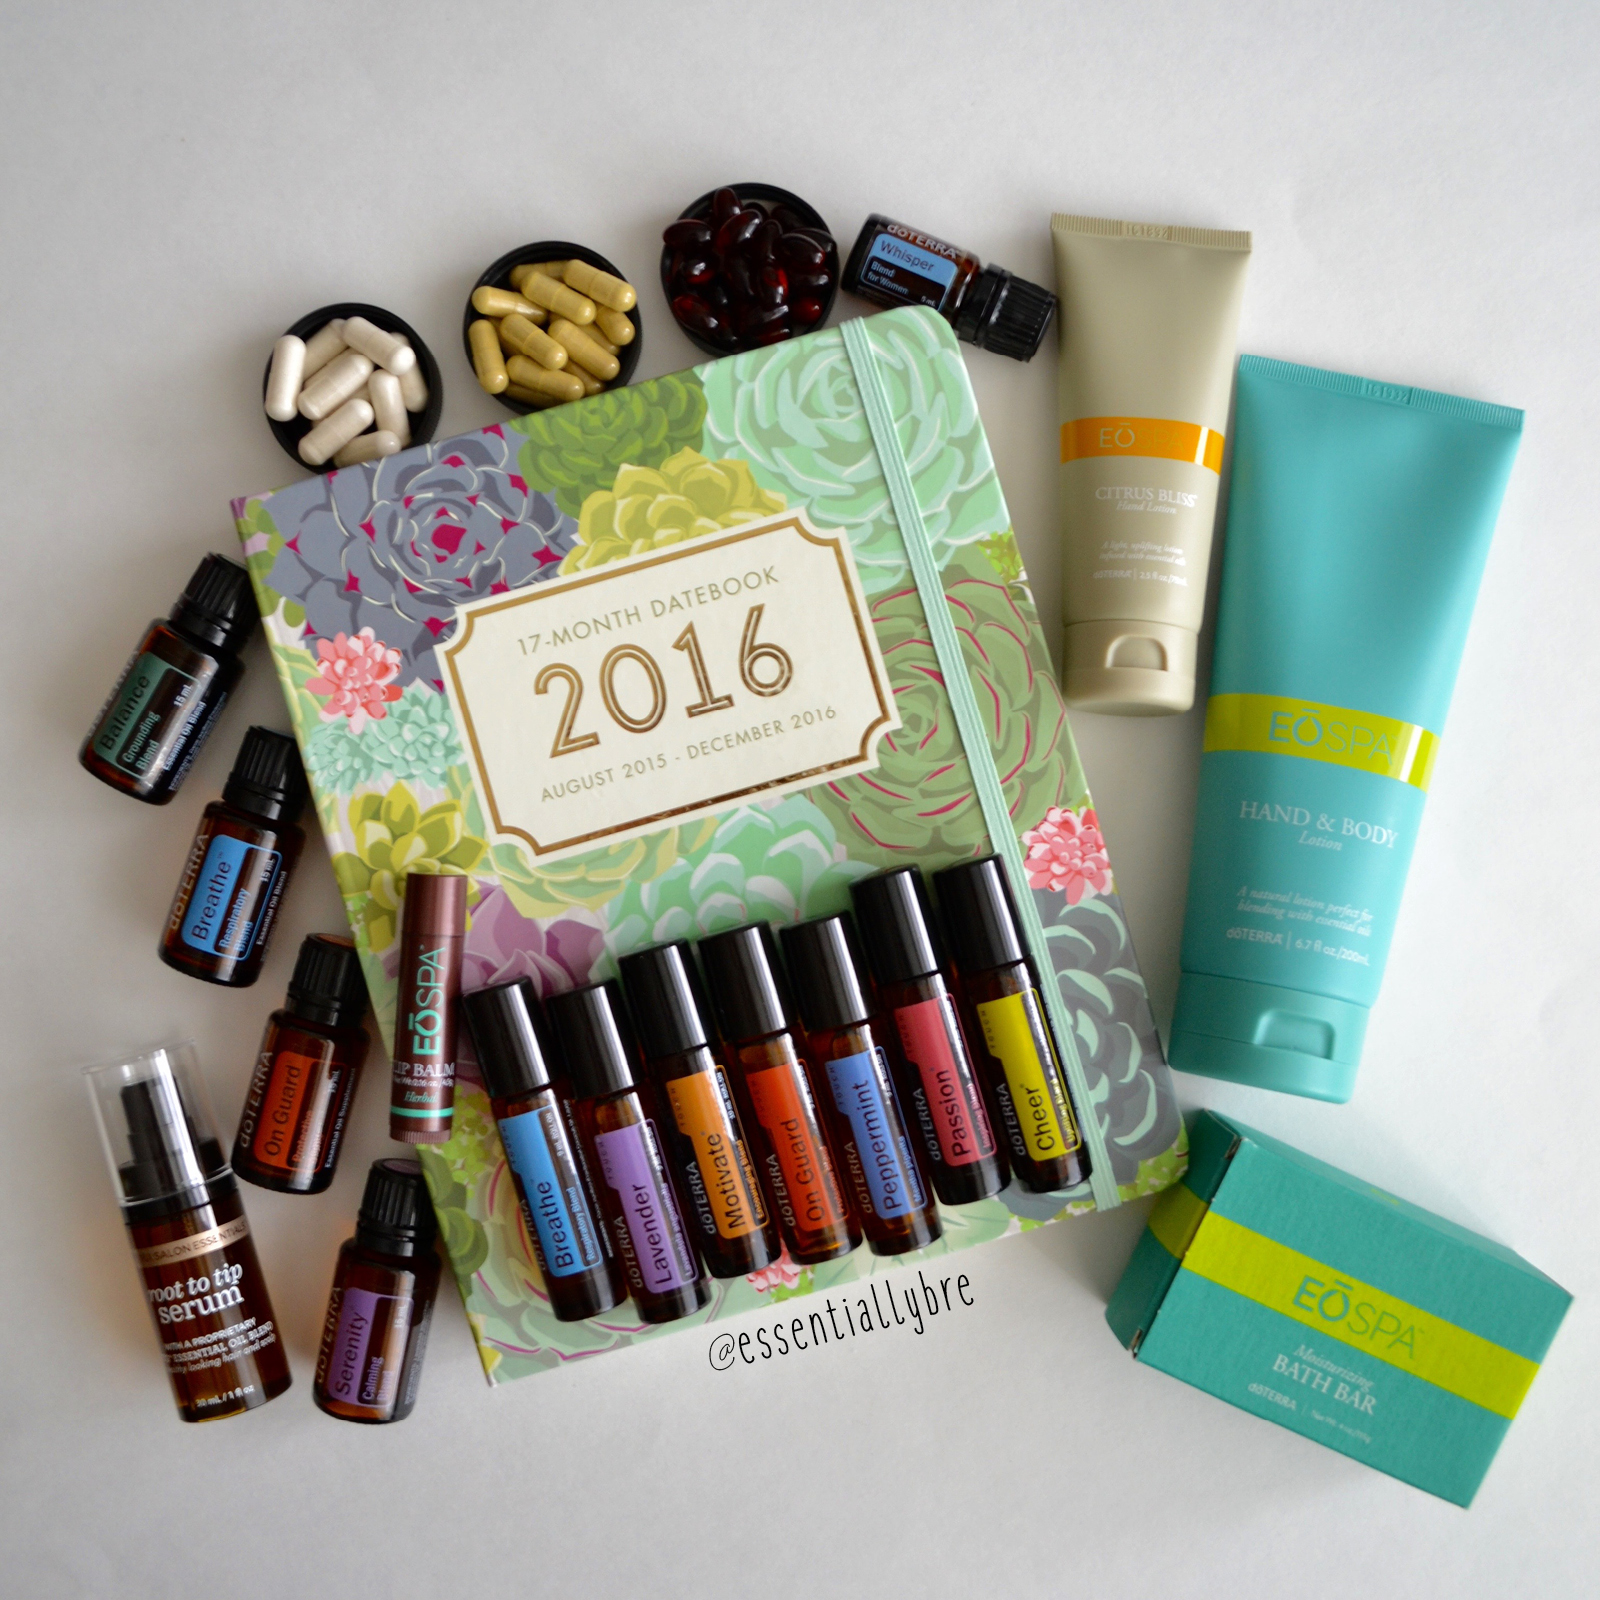
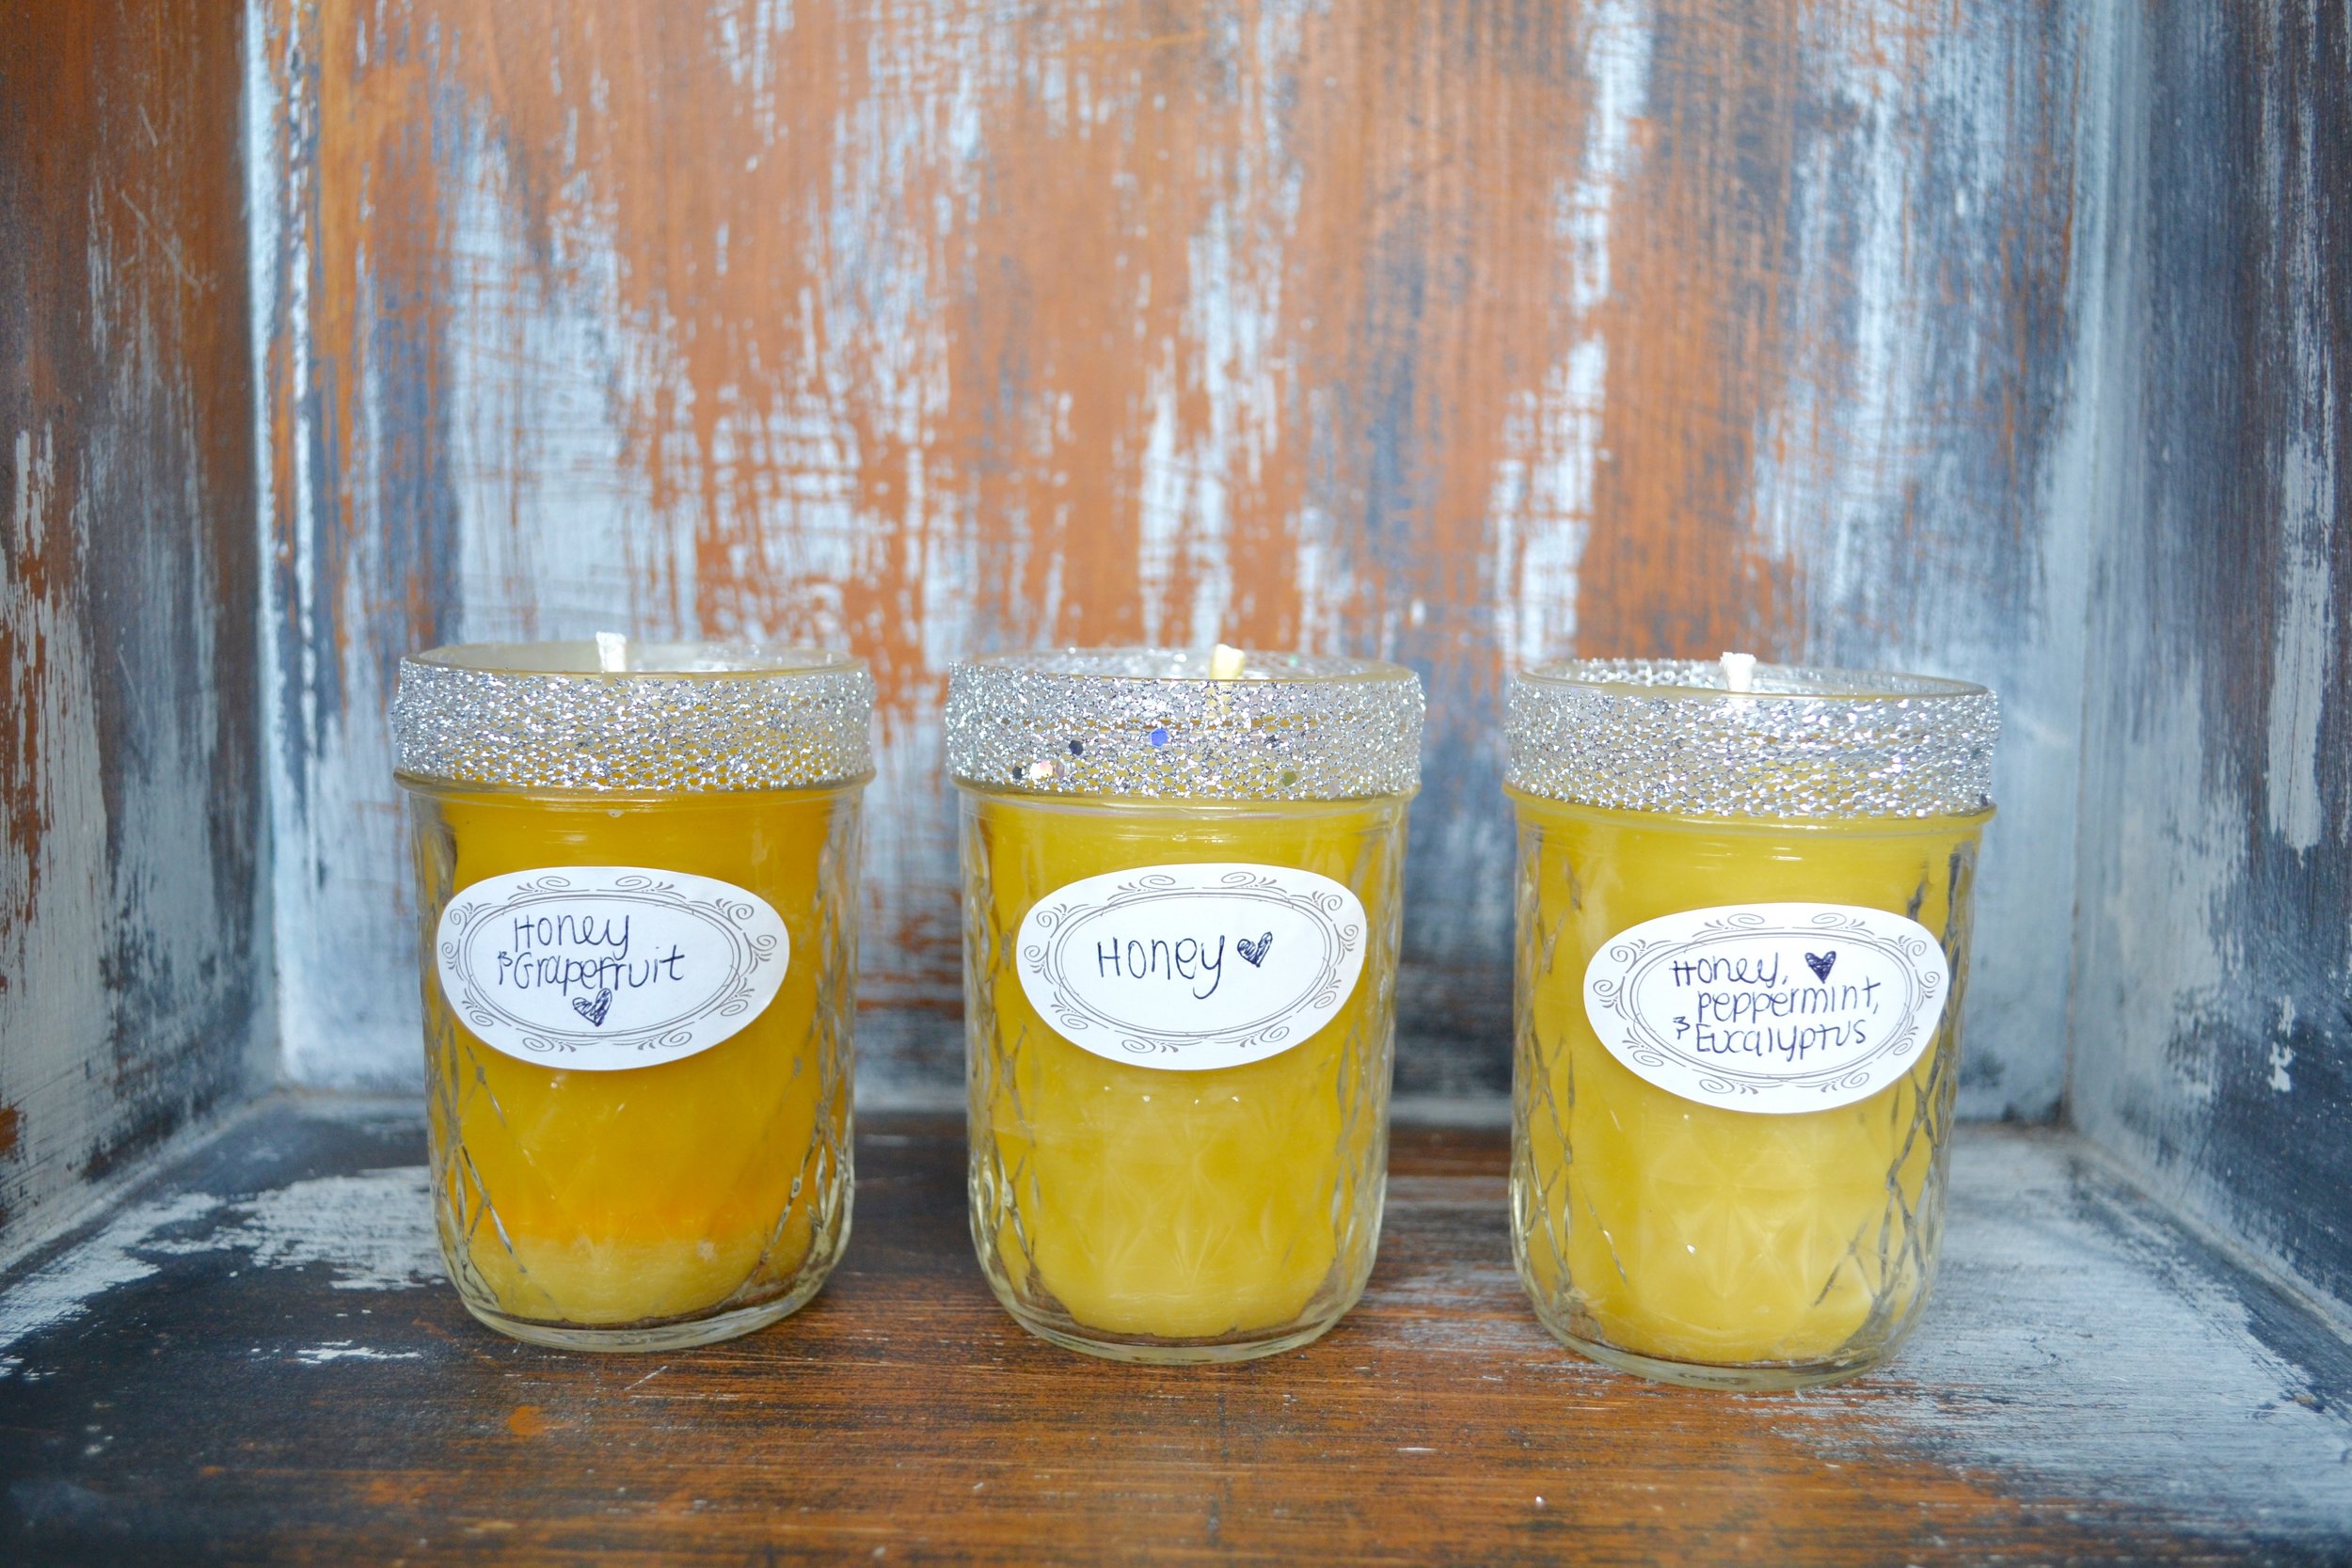
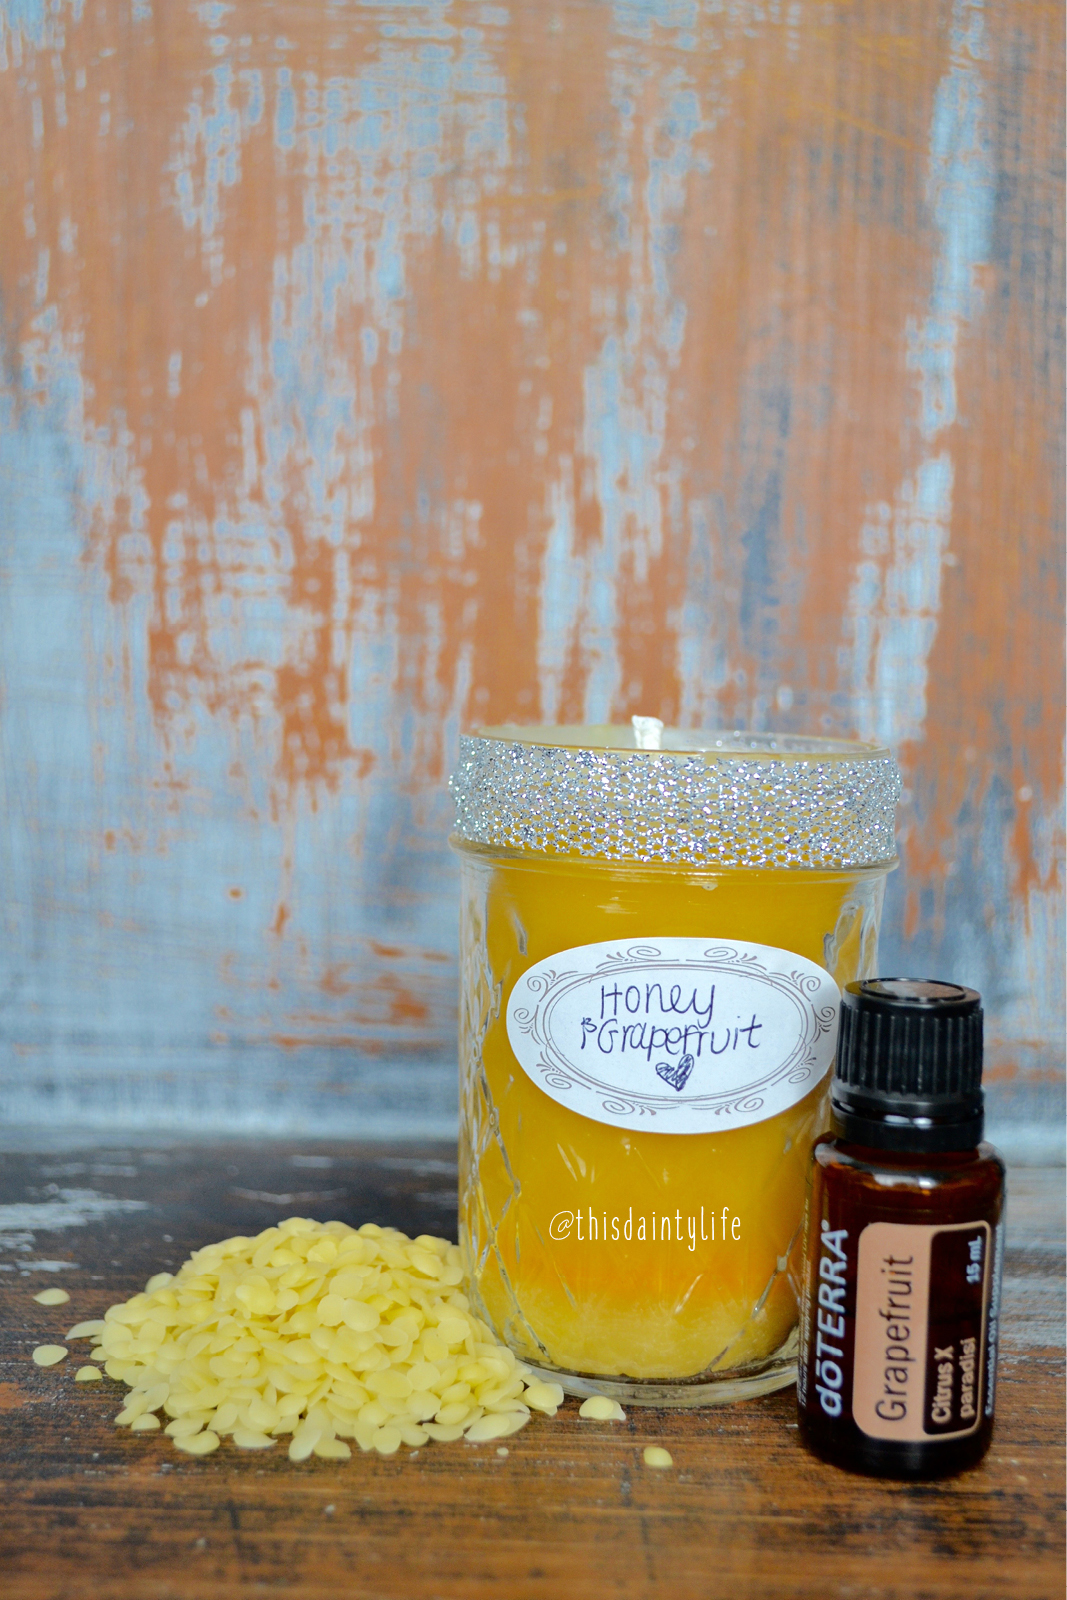
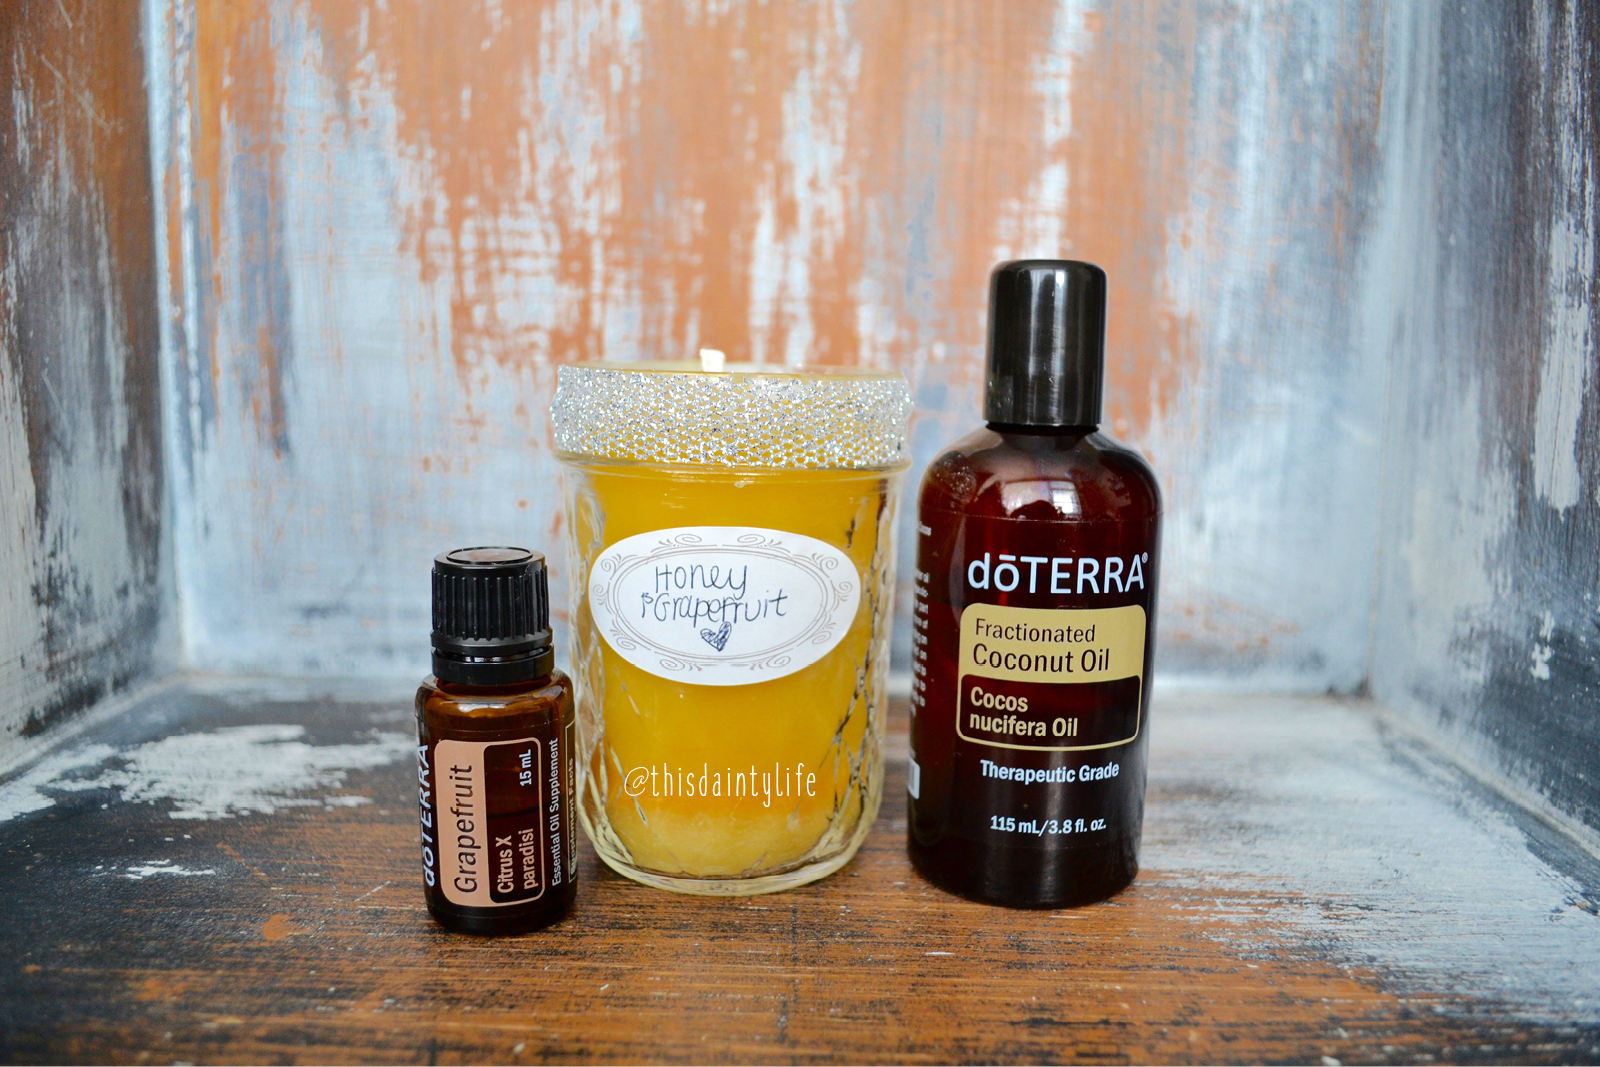
- Essential oils of choice - beeswax candles smell so great naturally, so I decided to leave one without added essential oils. For the other two, I used just doTERRA®'s grapefruit for one and combined its peppermint and eucalyptus for the other (they both turned out smelling amazing)
- Fractionated coconut oil (this will help hold the scent of the essential oils and assist even hardening and burning). I used doTERRA®'s FCO.
- One pot to boil water in and another pot to melt the wax in
- 3 8oz mason jars
- 3 skewers and 3 clothespins
Instructions:
- Cut your wicks so they are a couple of inches taller than your mason jars.
- Pre-heat your oven to about 170 degrees. When the candles are poured, you'll turn your oven off and place them on the top rack to harden. The warmer temperature in the oven helps prevent the candles from cooling too quickly and cracking.
- Place beeswax in the smaller pot and then position that pot on top of a larger pot filled about half way with water. Bring the water to a boil; the steam from the bottom pot will melt the wax.
- Once all the wax is melted (this took about 20-25 minutes or so for us, but yours might melt faster depending on your stove), pour about 1/4 of an inch of wax in your first candle jar and hold your pre-cut wick in place with a skewer until you can feel it start to stick to the bottom of the jar. One trick we learned along the way is dipping the wick in the melted wax first to create more surface area for it to stick to the jar.
- Once the wick is set, fill the rest of the jar with wax and then hold the wick in place by clasping it with a clothespin and resting the clothespin on top of the jar. I highly recommend you get a pot with a pouring spout that's dedicated to your wax-related projects. Ours doesn't have a spout and pouring wasn't pretty ;)
- If you want to add essential oils for fragrance, pre-mix them with fractionated coconut oil so you can pour them into the jar immediately after you pour the wax. Stir with a skewer to mix the oils with the wax for an even fragrance. I used 100 drops of grapefruit and matched that amount in coconut oil. For the peppermint and eucalyptus candle, I used 75 drops each and about 150 drops of coconut oil. If you don't want to add essential oils, I'd still recommend adding about 100-150 drops of coconut oil for more even hardening and burning.
- Place your candles in your oven (see second step - don't forget to turn it off before doing so!).
- Let dry and harden for 24 hours before burning.

I love the way these candles turned out - they smell amazing (even the plain honey one that I didn't add essential oils to) and it makes me feel so good that we're burning all-natural candles that won't pollute the air we breathe with toxins.
If you make your own beeswax candles, I'd love to hear how they turn out! Leave a comment below or share a photo with me on Instagram.